|

Code Download / View
PHP
CGI / Perl
Static HTML pages
Joomla
Wordpress
Drupal
WebGUI
Typo3
Â
Code Download / View
Â
- Sign in or register for free
- In the topmenu, click on "Your Account" -> "Your Code"
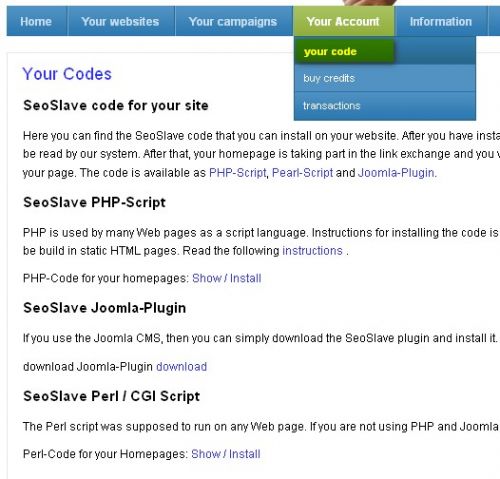
- Download or show the relevant code.
Â
Â
Â
PHP
If your site is coded in PHP (4.1.0 +), simply download our short PHP script, which you can insert into your PHP code where ever you want to view links.
Â
CGI / Perl
If your site enables a CGI / Perl integration, just download our short Perl script which you can paste into your website where ever you want to view links.
Â
Â
Static HTML pages
It is often possible to insert the code into static HTML files to run when on your server is running on Apache and PHP.
If so, you can put a file named .htaccess with the appropriate information in the data directory (or in the root directory).
There are 2 conditions:
- Your provider allows to change settings in your .htaccess file (AllowOverride directive).
- Your provider allows the function @fsockopen, which opens a socket connection to the Internet.
If you get Internal Server Error" message prints after upload the .htaccess file, it may be that one tries to load .htaccess file settings, which are not allowed by the provider. By deleting line by line (or comment out with #) you can try to find the problem(s) line(s) in the .htaccess file.
Procedure:
- First look in the directory where the files are for your HTML, whether a .htaccess file already exists.
! As it is a hidden Linux file, it means this is often not visible. Set your FTP program as you would show these hidden files. The Windows Explorer doesn't show this files at all.
If you have no FTP client, we recommend FileZilla. (For Windows 2000, please install the version for Windows XP / Vista). In the menu bar "View" you choose the "Show hidden files" option.
- If there is a .htaccess file, copy it to your local computer. If it not exist, create it.
- Write in the .htaccess file the following content:
AddType application/x-httpd-php .html .htm
These lines tell the Web server: "All files ending with. Html or. Htm must first be processed by the PHP program before they are forwarded to the browser."
With newer versions of PHP or Apache, the line looks like this:
AddHandler application/x-httpd-php .html .htm
- Copy the .htaccess file in the root directory of the web server (where your HTML files are located).
The information in .htaccess affect the directory and all subdirectories, unless this is explicitly otherwise defined.
- Create an HTML file containing the following:
<?php
echo "Hello World";
?>
Copy this to your web server and reload this file on your web browser.
If this file replies "Hello world", you did it.
Then copy the code for the link box in your HTML files.
Joomla
In Joomla! You can use our code easily using a Joomla! Plugin.
Installation of the plugin:
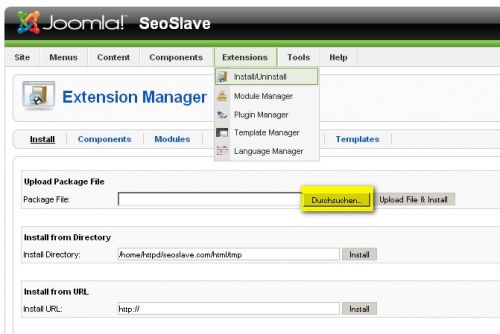
- Go to the Joomla! Administrator Menu to Extensions -> Install / Uninstall
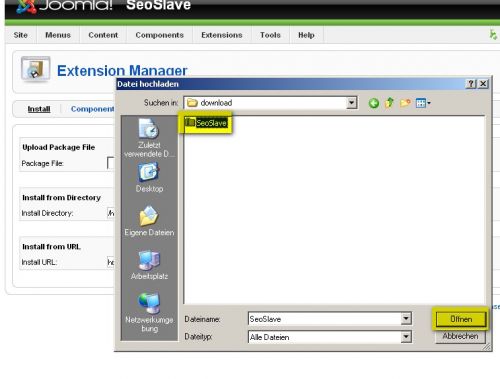
In "Upload package file" click on "Browse ..." and choose our plugin file.
Then click "Upload and Install File"
- Change the menu Extensions -> Plugin Manager
- There you will find a new plugin "SeoSlave.
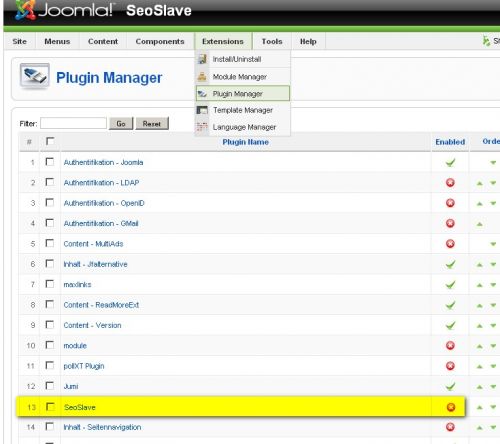
Activate the plugin.

After that, the links are automatically displayed under the articles.
Wordpress
Â
1st Download the Wordpress plugin. (joomla logon area or wordpress.org)
2nd Sign in as an admin on your Wordpress site.
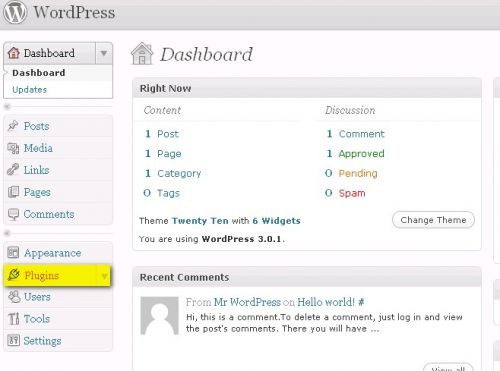
3rd Click on "Plugins".
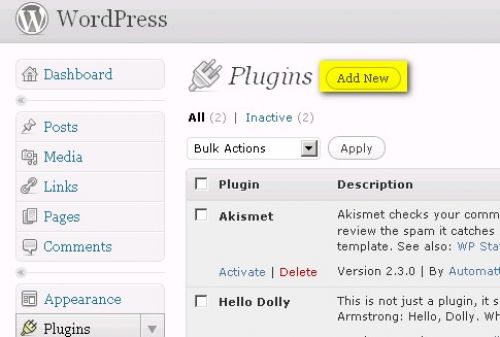
4th Click on the top next to "plugins" on "add new".
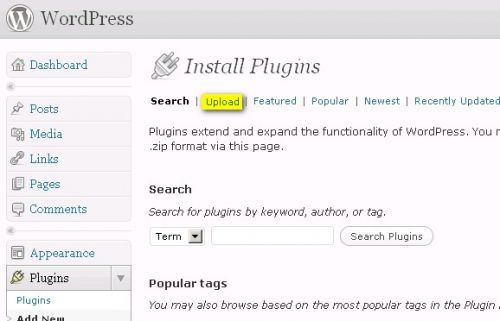
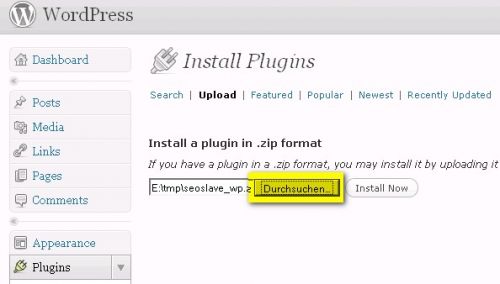
5th Click on the top next to "install plugins" on "Upload".
6th Click "Search" and select the downloaded file named "seoslave_wp.zip off" / "seoslave.zip".
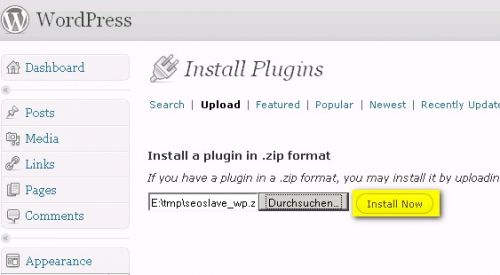
7th Click "Install Now".
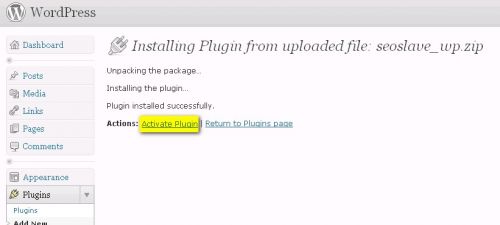
8th You get the message that the plugin was installed. The last, you click on the text "Activate plugin".
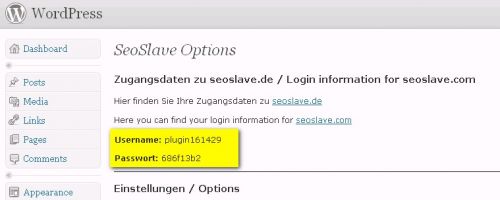
8.1 !!! Only if downloaded from wordpress.org
You can see your SeoSlave.com login information on Plugins -> SeoSlave WordPress Plugin -> login information
If your login information does not appear immediately, please visit your homepage one time in your webbrowser.

Done! The plugin is now used.
You can now login with your login information on www.seoslave.com and configure your website.
Drupal
- Activate the 'PHP filter'-Modul in the area 'Administer' at 'Site building/Modules'Â
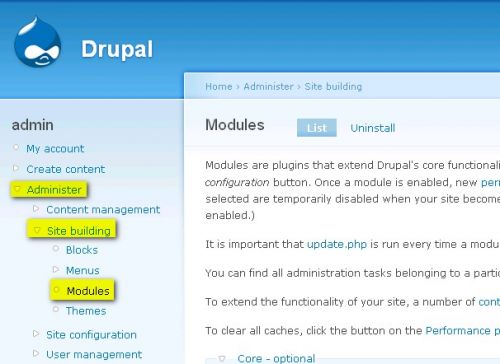

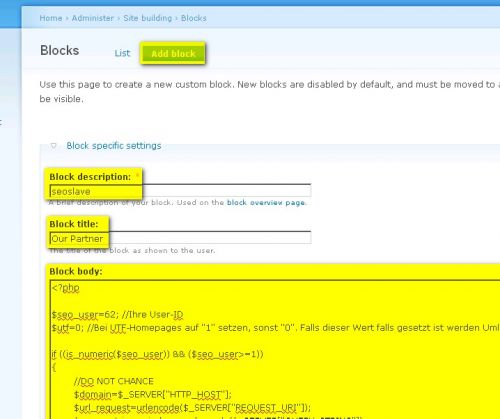
- At 'Administer' -> 'Site Building' -> 'Blocks' click on 'Add block'

- In the field 'Block description' type 'seoslave'
- In the field 'Block title' type for ex. 'Our Partner'
- In the field 'Block body' type in the SeoSlave PHP Code
(SeoSlave Login Area -> Your account -> Your code -> SeoSlave PHP-Script -> Show/Install)
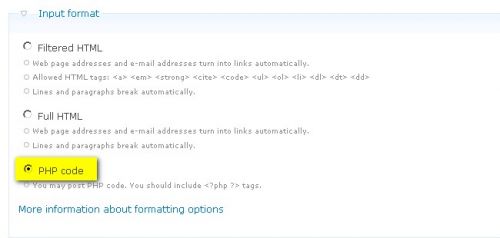
- At 'Input format' select 'PHP code'
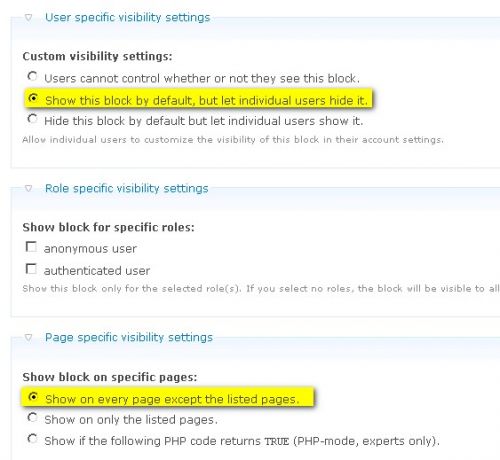
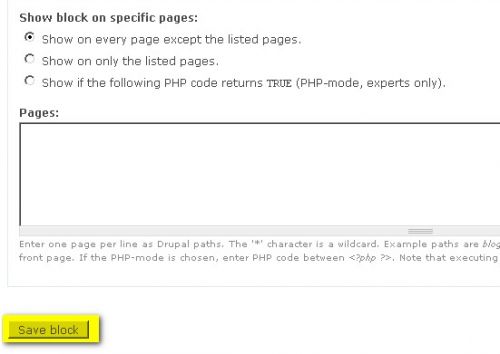
- Activate the following parameter:
Custom visibility settings:
Show this block by default, but let individual users hide it.
Show block on specific pages:
Show on every page except the listed pages
- Click on 'Save Block'
- At 'Administer' -> 'Site building' -> 'Blocks' -> 'List'Â assign the Block 'seoslave' (at 'Disabled') to any desired region (for ex. 'Footer')
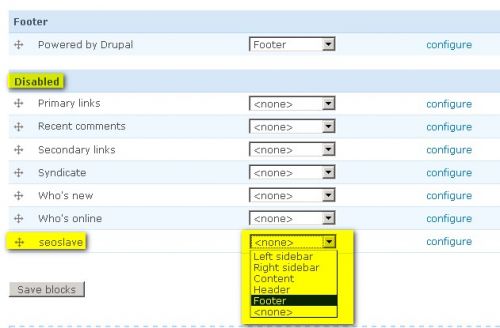

- Click on 'Save Blocks'
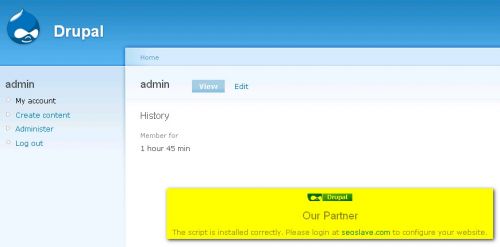
Ready! The SeoSlave Plugin is now shown in your desired region of your website.
(For Test/Debug: SeoSlave Login Area -> Your Account -> Activate Debug-Mode)
WebGUI
Installation:
1. Download the macro from your login area at SeoSlave (seoslave.pm at your account -> your code)
2. Copy the file into your WebGUI install in the directory "macro".
Example: /data/WebGUI/lib/WebGUI/Macro
3. Edit WebGUI.conf file to add the PHP macro to the macro list
Example: add
"seoslave":"seoslave",
to "macros" in /data/WebGUI/etc/webgui.domain.conf
4. Restart web server / Clear the WebGUI Cache
Insert the Macro in all Articles (recommended)
1. Login as admin
2. Click on "Admin Console"
3. Click on "Assets"
4. At Type "Article" click on "Edit"
5. Click on "Display"
6. Click on "Edit" at "Article Template"
7. Add
^seoslave;
to the article template at your desired position.
(recommended below the article)
Â
Insert the Macro somewhere in the template
1. Login as admin
2. Click on "Admin Console"
3. Click on "Assets"
4. At Type "Article" click on "Edit"
5. Click on "Display"
6. Click on "Edit" at "Style Template"
7. Add
^seoslave;
to the article template at your desired position
Insert the Macro in an article:
1. Login as admin
2. Edit the artice
3. Add
^seoslave;
to the article to call the macro
Typo3
1. Download and extract 't3x_page_php_content'
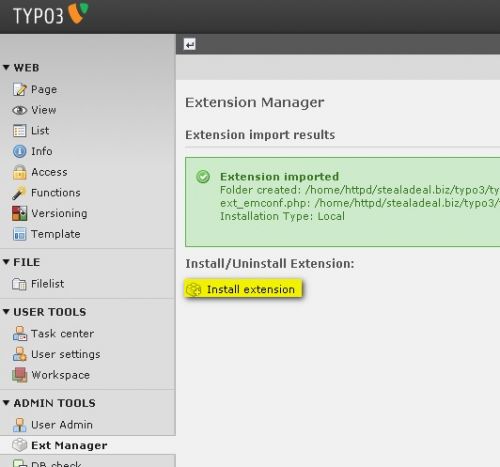
2. Go to 'Admin Tools' -> 'Ext Manager'
3. Choose ->Â 'Import Extensions'
4. Import t3x_page_php_content
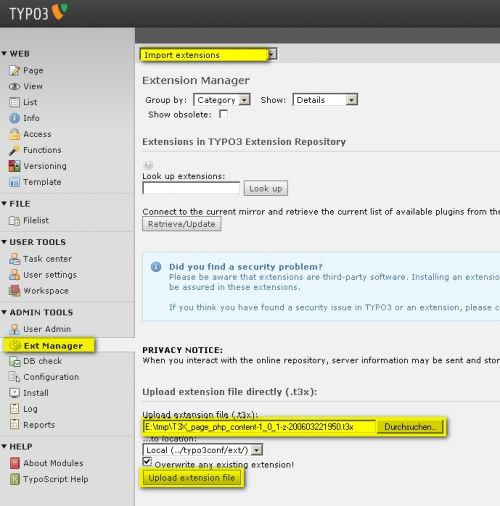
5. Click on 'Install extension'
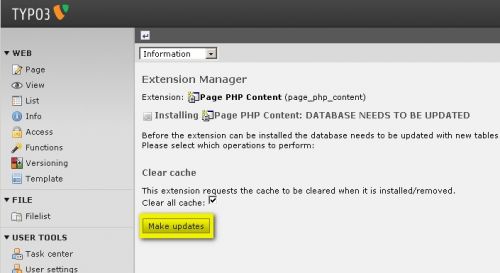
6. Click on 'Make updates'
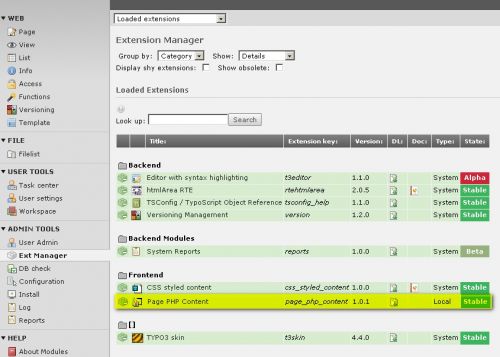
7. -> the extension 'Page PHP Content' should apear now under 'Loaded extensions'
8. Register free at Seoslave.
9. Log in at Seoslave and go to 'Your account' -> 'Your Code' -> 'PHP Script show/install'
10. Copy the PHP Script to the cache or save it to your harddisc.
11. Choose your desired page for the script 'Web' -> 'Page' -> sitename
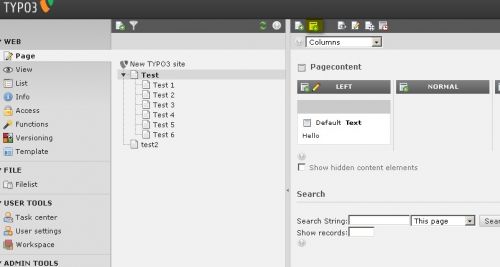
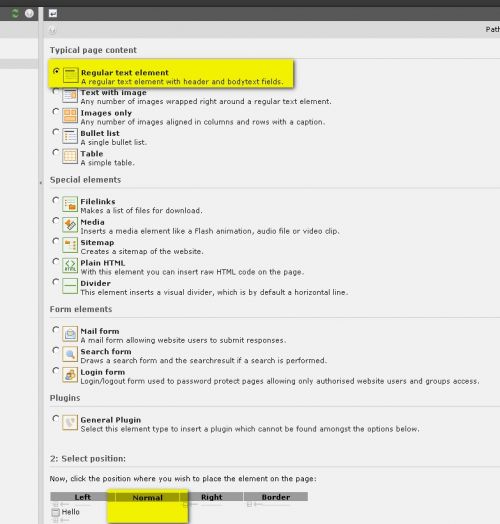
12. Click on "new content element" and choose the content-type (for ex. Regular text element)
13. Choose the position
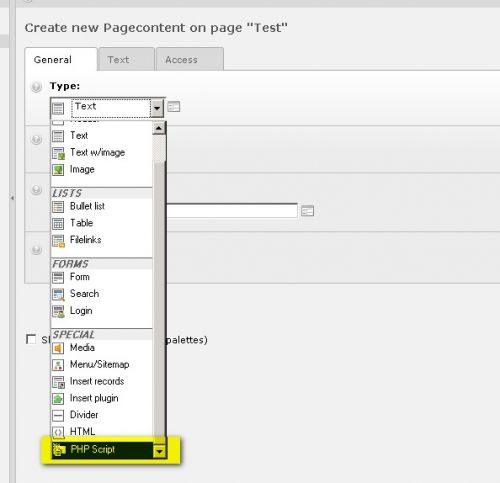
14. At 'Type' choose 'PHP Script'
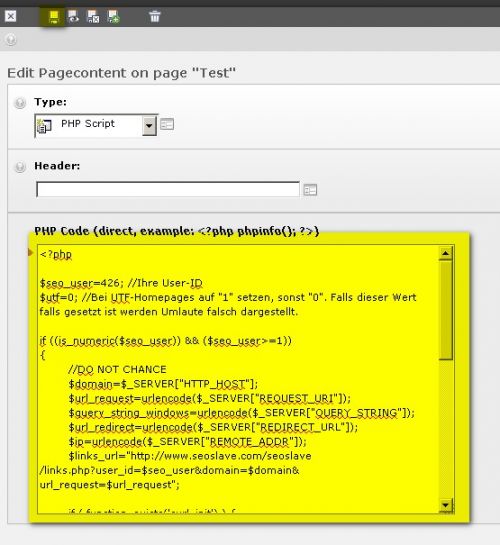
15. Optional you can type in a header for the PHP Script
16. Paste the SeoSlave PHP Script at 'PHP Code'
17. Click on 'save document'
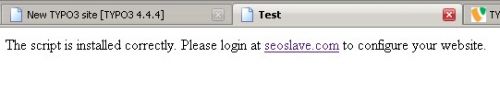
18. For testing purposes just enable/disable the debug mode in the SeoSlave Login area
19. If problems occcur -> check the typo3 logfile
|
")
")